
Here is a card made with the Crimped Diamond Technique, a great technique that I found the tutorial for on Splitcoast by Lee Conrey. The only thing I did different was I folded all the corners of my paper in and crimped it all at once. It didn't crimp the very center of the paper but I was covering that part anyway so that didn't matter. That way I didn't get the straight lines that she got on the edges.
A quick tutorial:You start by marking the center of your paper on all of the sides. Draw diagonal lines on the back of your paper and then score on these lines. I used a 4 1/2" x 5 1/2" paper to start.r

Fold your paper on all these scores and put it through your paper crimper. You want to press hard when you crimp it so it goes to all the folds.

When you open your paper this is what you have! Just trim a little bit off the edges since the crimping makes it a little uneven.

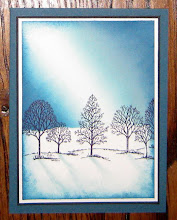
I used a 5" x 3 3/4" piece of paper from the Deck the Halls DSP and cut the corners off to put it in the center diamond. I used the Peaceful Season Stamp set for the Sentiment and the bird. My colors are Very Vanilla, Soft Suede and Cherry Cobbler. I love the combination of these colors!


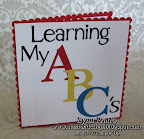 ABC Book
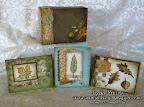 3 Card w/ Box
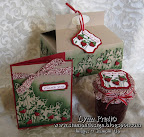 Jar Gift Set
 Pocket Glider Card
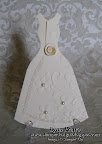 Tri-fold Wedding
 Sunhat & Glasses
 Flirtatious Purse
 Swap Garden Bag
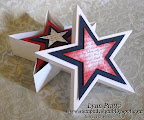 Star Cards/Box
 Fun Frames
 Treasure Box, Card
 Fun Folds Open Sea
 Glider Card
 Nurse Box & Cards
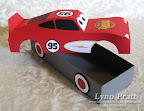 Race Car Box
 Castle Frame
 Egg Gift Card
 Bug Cards
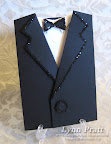 Tux card
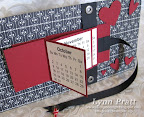 Flip Calendar
 Photo CD Album
 Gingerbread Box
 Gift Card Holder
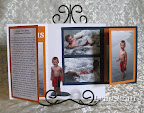 Fold Scrapbook
 Diabetes Purse
 X-mas Cards
 Haunted House
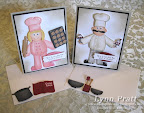 Chef Pop-out
 Chef Pop-out
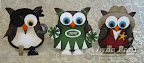 Owl Cards 2
 Spooky Punches
 Foliage Box+Cards
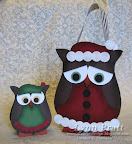 Owl Purse +Cards
 Bus, Fire, Police
 Briefcase & Cards
 Cylinder Purse
 AE 3 Cards
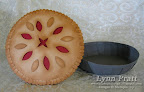 Pie Box&Card
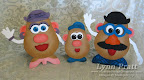 Potato Heads
 Castle Album
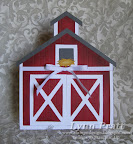 Scrapbook Album
 Scrapbook Album
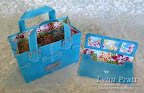 Purse & Wallet
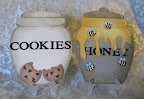 Jar Cards
 Animal Cards
 Barn & Cards
 Gardeners Bag
 Picnic Basket
 Cupcake cup
 Chocolate Candy
 Bird in Cage
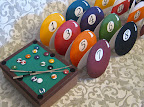 Pool Table
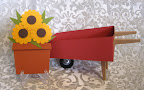 Wheelbarrow
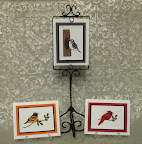 Bird Cards#2
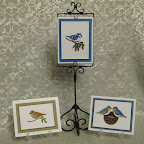 Bird Cards
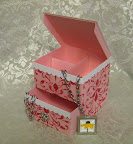 Jewelry Box
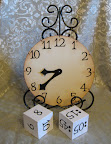 Clock Game
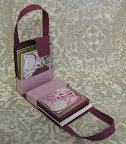 Purse & Cards
 Rag Purse
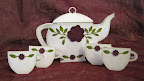 Teapot and Cards
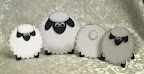 Sheep box & cards
 Egg Box & Chicks
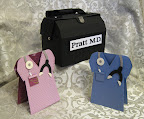 Doctor's Bag
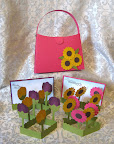 Pop-out Flower
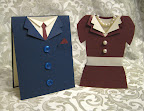 Suit Dress Card
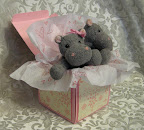 Explosion Box
 Vest Card
 Tackle Box
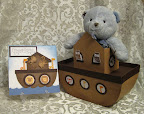 Noah's Ark
 Love Coupon
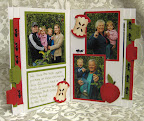 Pull-out Scrapbook
 Calendar Book
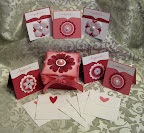 Card Box
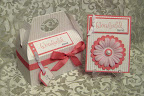 Cupcake Box
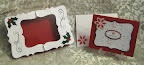 Photo Box
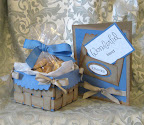 Woven Basket
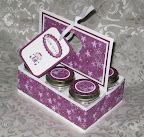 Six Pack Baby Jars
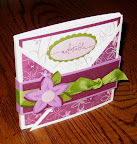 Scrapbook
 Scrapbook
 Santa Wine
 Top Note Album
 Top Note Album
 Decorative Candles
 Origami Cube-Box
 Origami Album